The egg in vinegar experiment is a classic.
Rubber egg experiment explained.
As the days pass your kids will note how the shell dissolves hence the nickname naked egg experiment.
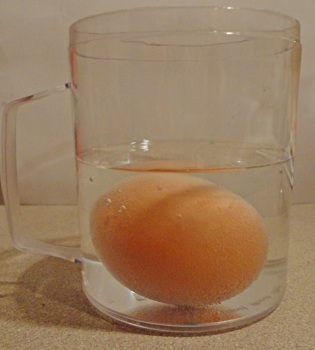
Put your egg into a tall drinking glass.
At this point you will notice the egg.
Kitchen science is a great way.
The rubber egg experiment.
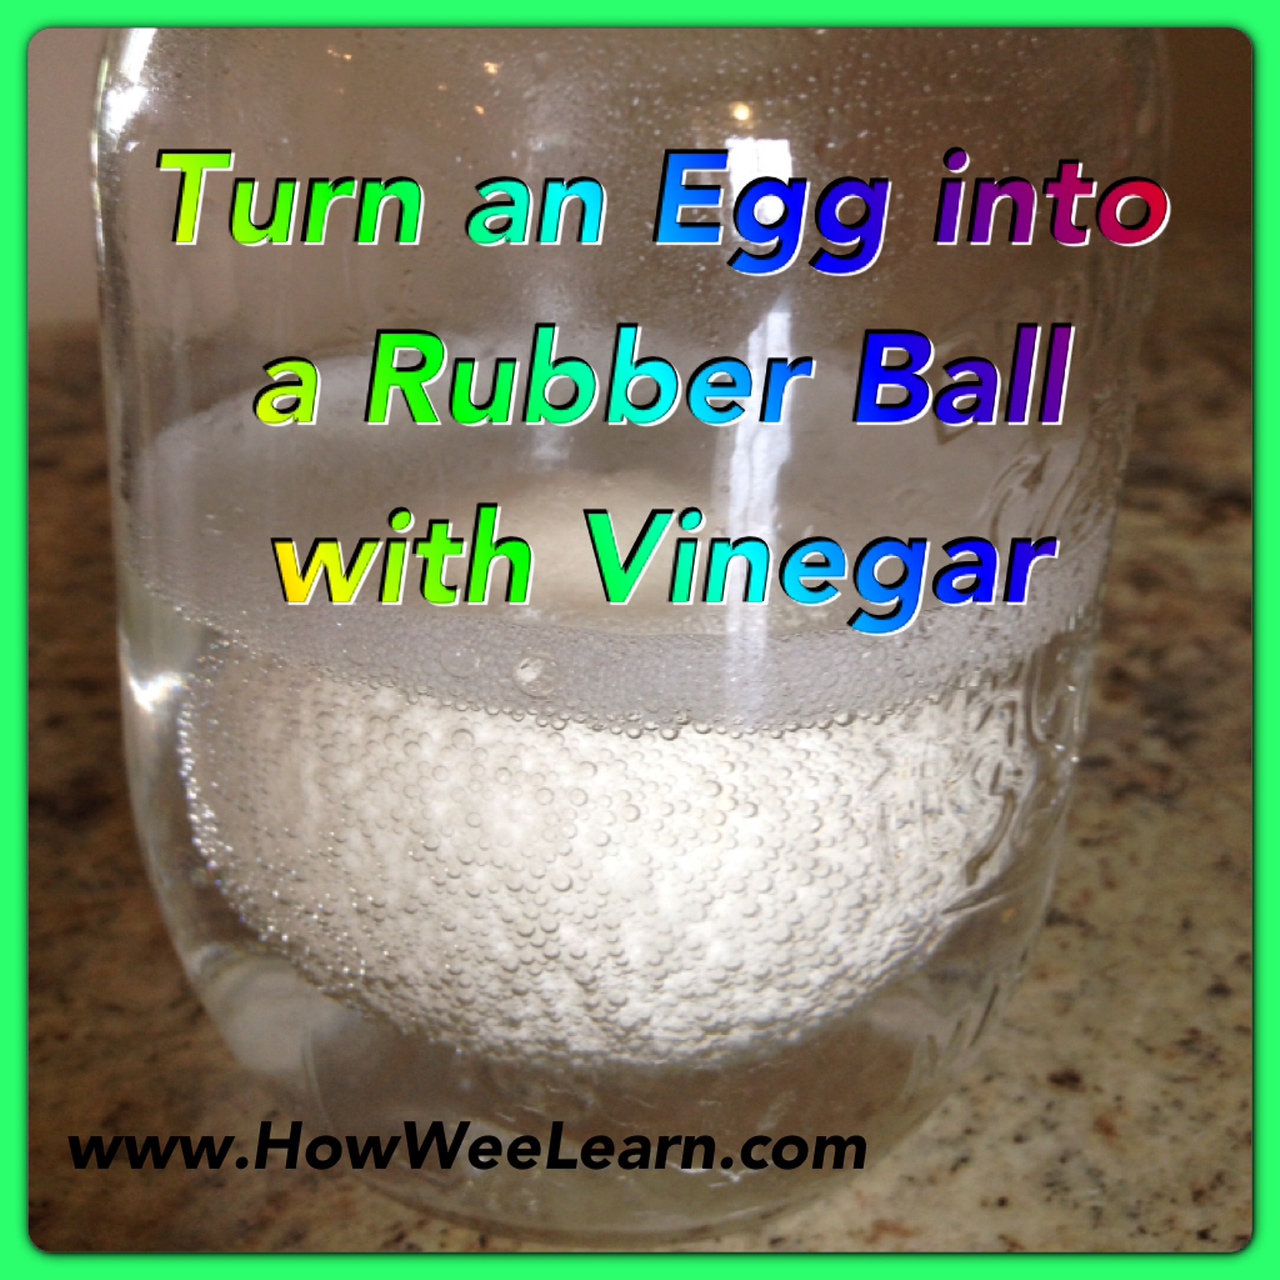
Bouncy egg science experiment instruction step 1 get a raw egg and carefully place it into a glass or jar.
Pour vinegar into the glass until the egg is covered.
This experiment answers the age old question which came first the rubber egg or the rubber chicken it s easy to make a rubber or naked egg if you understand the chemistry of removing the hard eggshell.
Pour vinegar in until the eggs are completely submerged.
Get ready to add this simple rubber egg activity to your science lesson plans this season.
On day 1 measure the masses of both the eggs with the shell.
Step 3 leave the egg in the glass for 1 3 days.
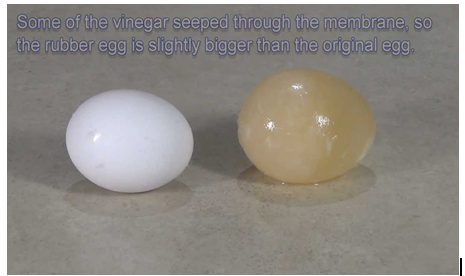
While it has not been cooked it will take on a rubbery feeling from the vinegar.
It will smell a bit.
Vinegar is poured over a raw egg.
Step 2 fill the glass with white vinegar until the egg is completely submerged.
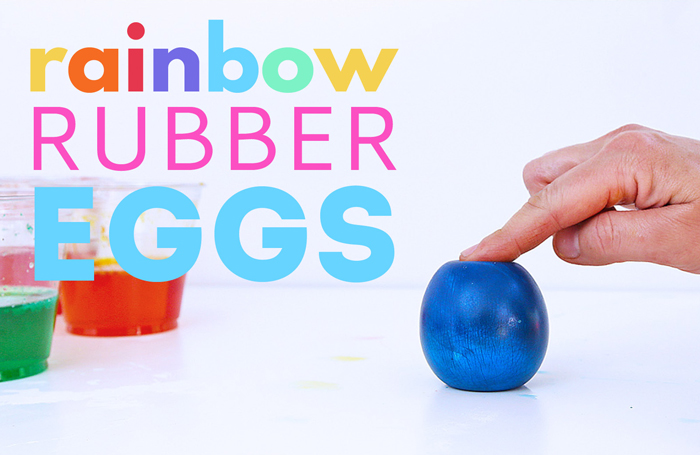
This simple science experiment will turn a regular egg into a bouncy ball.
Let the eggs stand for 24 hours or more to remove the shell.
It goes on to change the chemical composition of an egg making it rubbery on being dipped in vinegar for a few days.
What you re left with is a totally embarrassed naked egg and a cool piece of science.
Explore chemistry and osmosis by making a rubber egg and turning it into a bouncing egg.
If you want to learn about a cool chemical reaction let s dig in.
Remove the egg from the vinegar.
It will also have a thin brown slime on it the remnants of the shell.
Did you ever try to bounce an egg.
The egg in vinegar experiment though pretty simple gives your child the foundation knowledge on reactions between acids and bases.
Place both eggs in the solution place a small beaker on top of the eggs if necessary then cover.